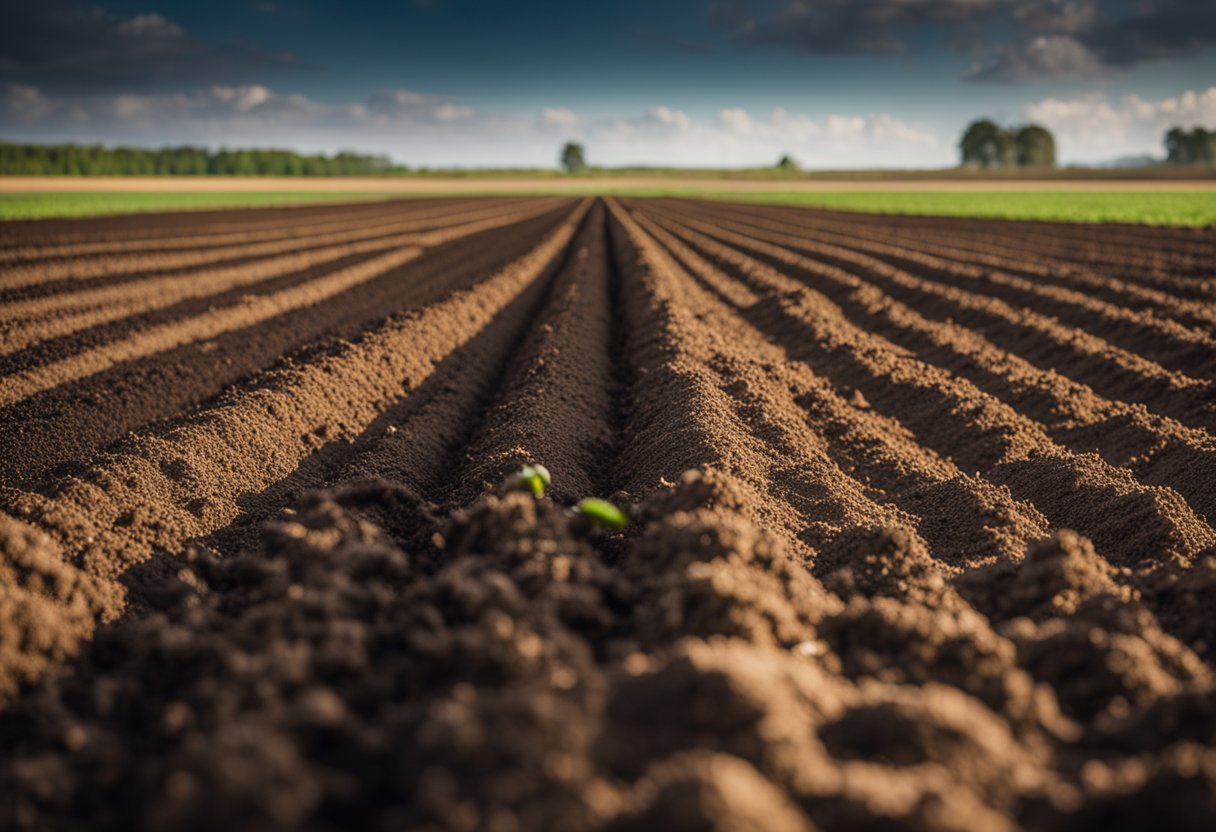
Planting celery seeds can be a rewarding experience for any gardener. Celery is a versatile vegetable that can be used in a variety of dishes, and growing your own can be a great way to ensure a fresh and healthy supply. However, planting celery seeds can be a bit tricky and requires some preparation and care to ensure successful growth.
“How to Plant Celery Seeds” is the first step to a successful harvest. Celery seeds are tiny and delicate, and require specific conditions to germinate. Knowing the ideal temperature, soil conditions, and planting depth can make all the difference in the growth of your celery plants. Additionally, it’s important to choose the right variety of celery seeds for your climate and growing conditions.
Preparing for planting is another crucial step in growing celery from seeds. This involves preparing the soil, creating the ideal environment for germination, and ensuring proper drainage. Taking the time to prepare the soil and planting area can help prevent issues down the line, such as poor growth or disease. By following these steps, you can set your celery seeds up for success and enjoy a bountiful harvest.
Key Takeaways
- Understanding the ideal conditions for celery seed germination is crucial for successful growth.
- Properly preparing the soil and planting area can prevent issues and promote healthy growth.
- Choosing the right variety of celery seeds for your climate and growing conditions can help ensure a successful harvest.
Understanding Celery Seed Planting
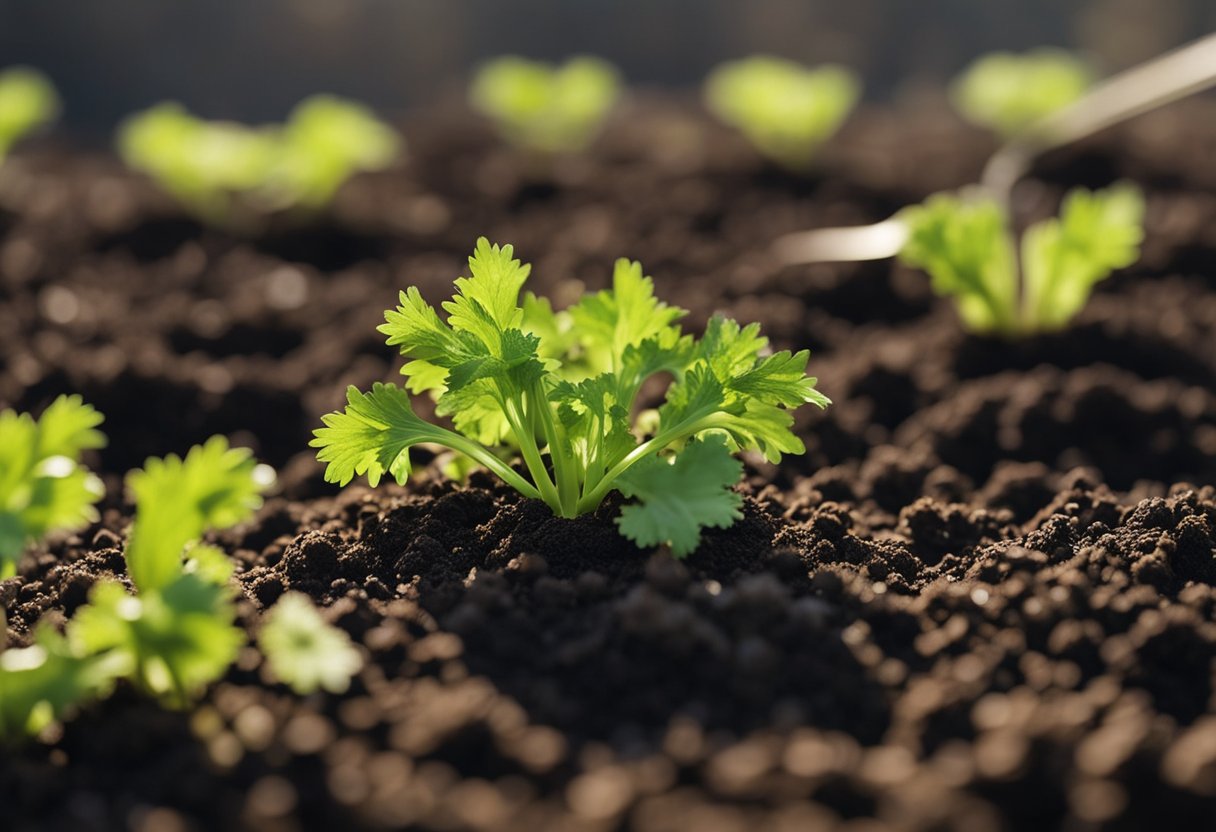
As someone who has grown celery seeds for years, I can attest to the fact that planting celery seeds is a rewarding experience. However, it is essential to understand the basics of celery seed planting to ensure that your seeds grow into healthy plants. In this section, I will cover the best time to plant celery seeds and choosing the right celery variety.
Best Time to Plant Celery Seeds
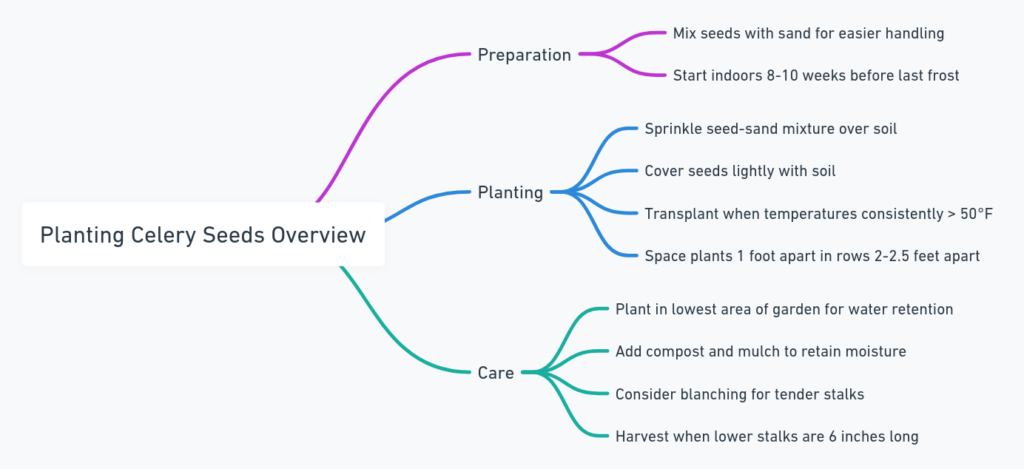
Celery seeds are best planted indoors around eight weeks before the last frost date in your area. This will give the seeds enough time to germinate and grow into healthy seedlings before transplanting them outdoors. Celery seeds need a consistent temperature of around 70°F to germinate, which is why starting them indoors is ideal.
Once the seedlings have grown to around four inches tall, they can be transplanted outdoors. The ideal time to transplant celery seedlings is around two weeks before the last frost date in your area. This will give the plants enough time to acclimate to their new environment and grow before the summer heat sets in.
Choosing the Right Celery Variety
When choosing a celery variety to grow, it is important to consider the climate in your area. Some varieties of celery are better suited to cooler climates, while others thrive in warmer temperatures. Additionally, some varieties are more disease-resistant than others, which is crucial for ensuring a healthy harvest.
One popular celery variety is the ‘Tall Utah’ variety, which is known for its crisp, juicy stalks and disease-resistant properties. Another option is the ‘Golden Self-Blanching’ variety, which is a yellow celery variety that is easy to grow and has a mild, sweet flavor.
In conclusion, understanding the basics of celery seed planting is essential for a successful harvest. By planting celery seeds at the right time and choosing the right variety, you can enjoy a bountiful harvest of crisp, delicious celery stalks.
Preparing for Planting
Soil Preparation
Before planting celery seeds, it is important to prepare the soil properly. Celery prefers a soil that is rich in organic matter, well-draining, and has a pH between 6.0 and 7.0. I recommend testing the soil with a soil pH meter to ensure that the pH is within the optimal range.
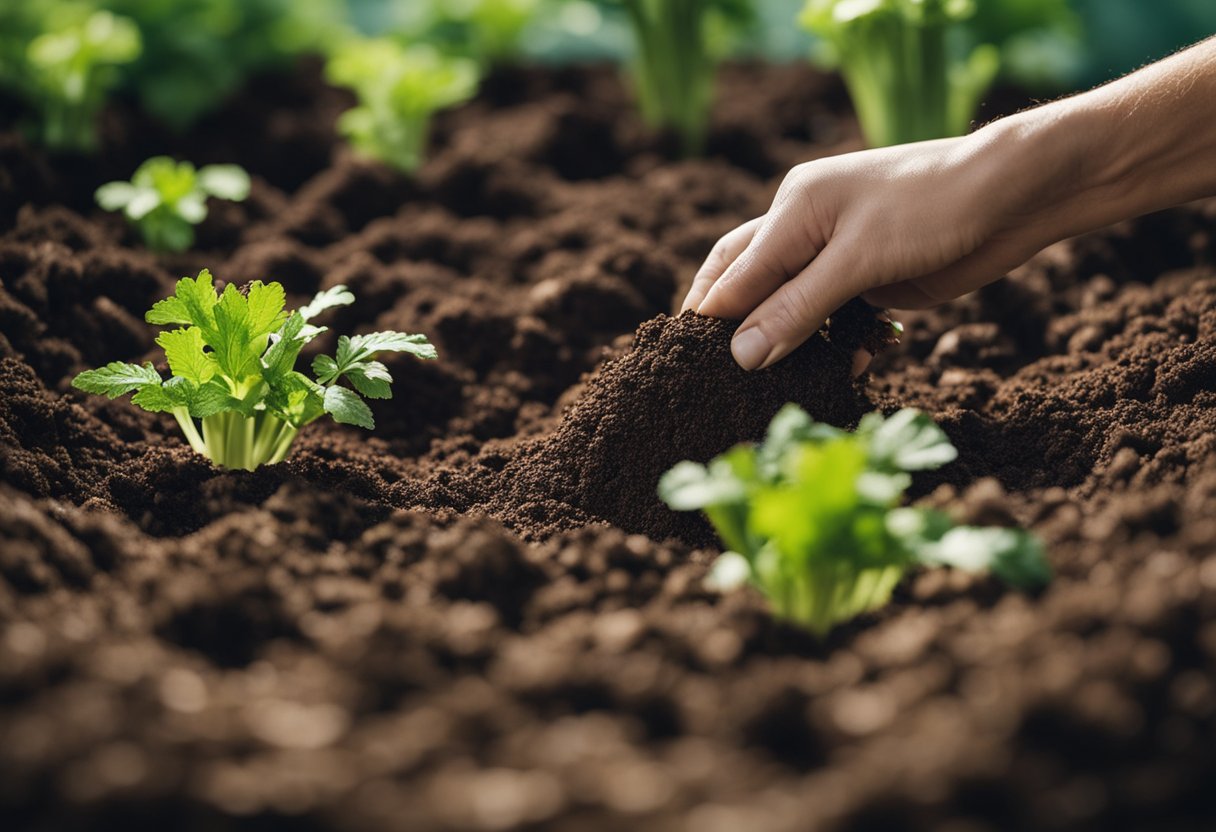
To prepare the soil, I start by removing any weeds or debris from the planting area. Then, I loosen the soil to a depth of at least 6 inches using a garden fork or tiller. Next, I add a layer of compost or well-rotted manure to the soil and mix it in thoroughly. This will help to improve soil fertility and structure.
Seed Treatment and Germination
Celery seeds are small and can be difficult to handle. To make planting easier, I like to mix the seeds with sand or vermiculite before sowing. This helps to distribute the seeds evenly and prevents them from clumping together.
Before planting, I soak the seeds in water for 24 hours. This helps to soften the seed coat and speed up germination. After soaking, I drain the water and spread the seeds out on a damp paper towel. I cover the seeds with another damp paper towel and place them in a warm, dark location. I check the seeds daily and keep the paper towels damp until the seeds have sprouted.
Once the seeds have sprouted, I carefully transplant them into the prepared soil. I space the seedlings 6 to 8 inches apart and cover them with a layer of mulch to help retain moisture. With proper care and maintenance, the celery plants should grow strong and healthy, producing a bountiful harvest.
Planting Process
Sowing Techniques
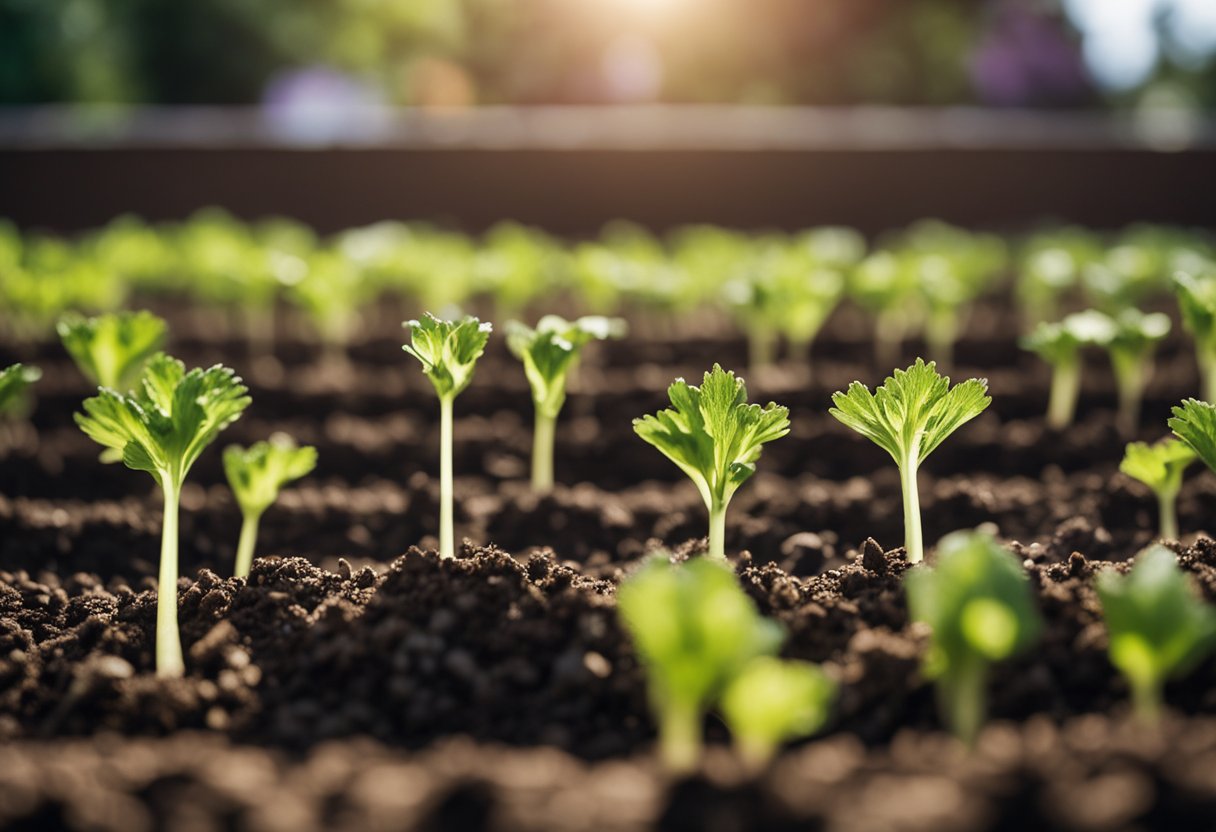
To plant celery seeds, I start by preparing the soil. I make sure the soil is moist and loose. I then create shallow furrows in the soil. I sprinkle the celery seeds evenly along the furrows, making sure to space them out. After that, I cover the seeds with a thin layer of soil. I then gently press down the soil to ensure good seed-to-soil contact.
Another sowing technique that I use is starting the seeds indoors. I fill a tray with seed-starting mix and sprinkle the celery seeds evenly on top. I then cover the tray with a plastic wrap to create a mini greenhouse effect. I keep the tray in a warm, bright place until the seeds germinate.
Spacing and Depth
When planting celery seeds, I make sure to space them out properly. I plant them about 1/4 inch deep and 2 inches apart from each other. This allows enough space for the plants to grow and develop properly.
It’s important to note that celery seeds require consistent moisture to germinate and grow. I water the seeds regularly, making sure not to overwater them. Overwatering can lead to rotting and fungal diseases.
In conclusion, planting celery seeds requires proper preparation of the soil, sowing techniques, and spacing and depth. By following these tips, you can successfully grow healthy and delicious celery plants.
Read Also | Companion Plant for Squash
Post-Planting Care
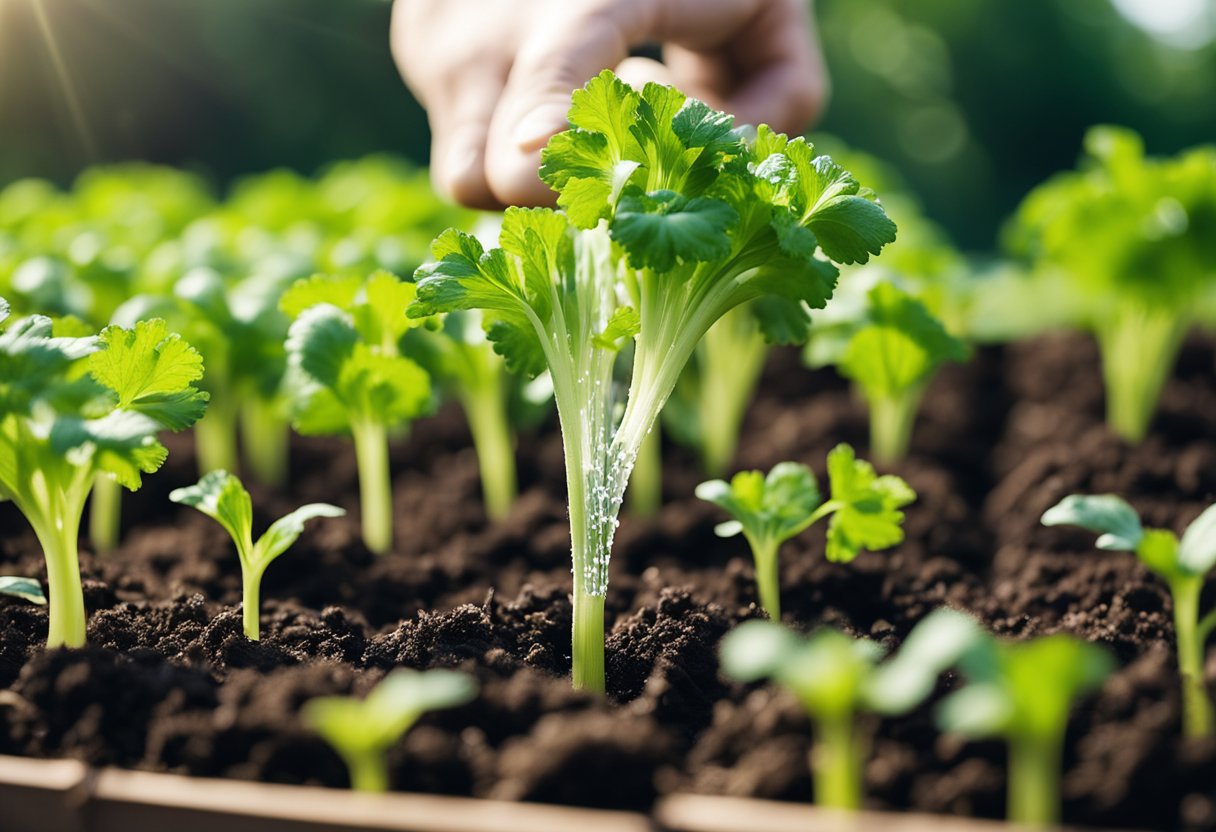
After planting celery seeds, proper care is essential to ensure healthy growth and a bountiful harvest. Here are some tips on post-planting care.
Watering Requirements
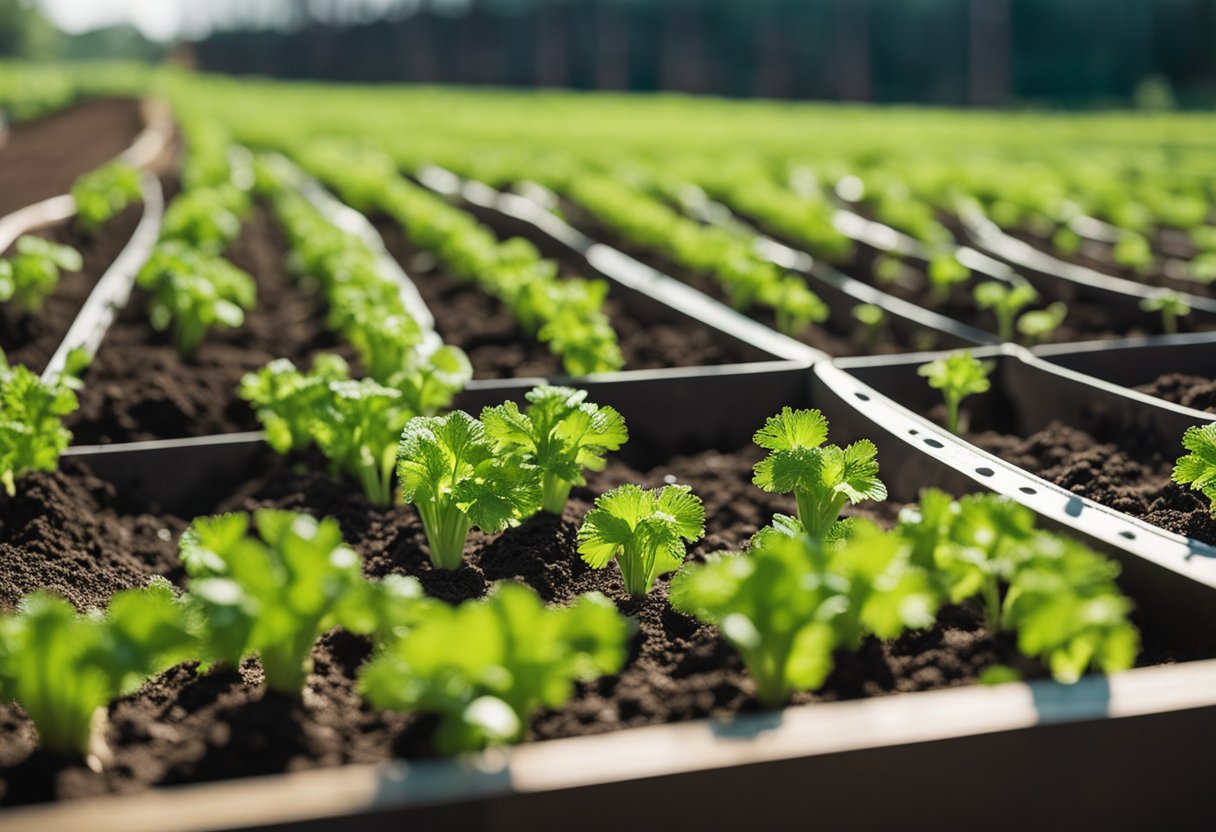
Celery requires consistent moisture to grow properly. Water the plants deeply and regularly, making sure the soil stays consistently moist but not waterlogged. Avoid overhead watering, as wet foliage can encourage fungal diseases. Instead, use a soaker hose or drip irrigation to water at the base of the plants.
Fertilizing and Thinning
Celery is a heavy feeder and requires regular fertilization to grow well. Apply a balanced fertilizer every two to three weeks during the growing season. Be sure to follow the manufacturer’s instructions for application rates.
Thinning is also an important aspect of post-planting care for celery. Once the plants have established themselves, thin them to one plant every 6 to 8 inches. This will give each plant enough room to grow and produce healthy stalks.
Pest and Disease Management
Celery is susceptible to a number of pests and diseases, so it’s important to keep an eye out for any signs of trouble. Common pests include aphids, slugs, and snails. These can be controlled with insecticidal soap or other organic pest control methods.
Diseases such as leaf blight and root rot can also be a problem. To prevent these issues, avoid overhead watering, keep the soil well-drained, and remove any infected plants immediately. Consider using a fungicide if necessary.
By following these post-planting care tips, you can ensure that your celery plants grow strong and healthy, providing you with a bountiful harvest.
Harvesting and Storage
When to Harvest
Celery is usually ready to harvest around 100-120 days from planting. The best time to harvest is when the stalks are around 8-10 inches tall and the leaves are a dark green color. It’s important to harvest celery before the temperature drops below freezing.
How to Harvest
When harvesting celery, it’s important to use a sharp knife or garden shears to cut the stalks at the base. Avoid pulling the stalks out of the ground as this can damage the plant and reduce the quality of the celery. It’s best to harvest celery in the morning when the stalks are crisp and full of water.
Storing Celery
To store celery, remove the leaves and wrap the stalks in aluminum foil or plastic wrap. Celery can be stored in the refrigerator for up to two weeks. If you want to store celery for a longer period of time, you can blanch it by placing the stalks in boiling water for 3-4 minutes, then immediately placing them in ice water to cool. After blanching, you can freeze celery for up to six months.
Overall, harvesting and storing celery is a simple process that can be done with just a few tools and some basic knowledge. By following these tips, you can ensure that your celery stays fresh and delicious for weeks to come.
FAQs – How to Plant Celery Seeds

What is the optimal temperature range for growing celery?
Celery grows best in cool temperatures, between 60-70°F (15-21°C). The plant can tolerate slightly higher temperatures, but prolonged exposure to temperatures above 75°F (24°C) can cause the plant to bolt and become bitter.
What are the best companion plants for celery?
Celery grows well with plants such as beans, peas, spinach, and tomatoes. These plants help to repel pests that can damage celery and also provide shade for the celery plants.
Can you grow celery from a stalk, and if so, how?
Yes, you can grow celery from a stalk. Cut off the base of the celery stalk and place it in a shallow dish of water with the cut side down. Change the water every few days and keep the dish in a sunny spot. Once the celery begins to grow roots, transplant it into a pot or garden bed.
What are the steps to planting celery seeds in pots?
- Fill a pot with a well-draining potting mix.
- Sprinkle celery seeds on top of the soil and cover them lightly with more soil.
- Water the soil gently to keep it moist but not waterlogged.
- Place the pot in a warm, sunny spot and keep the soil moist until the seeds germinate.
- Once the seedlings are a few inches tall, thin them out so that there is one plant every 6-8 inches.
Is it necessary to soak celery seeds before planting, and why?
Soaking celery seeds in water for a few hours before planting can help to speed up germination. This is because the seeds will absorb water and begin to soften, making it easier for the seedlings to emerge from the soil.
How long typically does it take for celery to mature from seed?
It takes about 120 days for celery to mature from seed. However, this can vary depending on the variety of celery and growing conditions. It’s important to keep the soil moist and provide the plant with plenty of nutrients to ensure healthy growth.
